Polishing a stainless steel pipe is not a single operation. It is a sequence of stages that gradually removes weld material, oxide layers and scratches, and then builds up a smooth, uniform surface. If a workshop tries to jump directly from a raw welded pipe to a mirror finish, the result is usually slow, inconsistent and full of defects such as deep grinding lines, blue discoloration or an uneven shine.
A well-planned process uses different flap wheels at each stage. This article explains the complete stainless steel pipe polishing process and shows how to match the right flap wheel to each step.
A typical stainless steel pipe polishing line follows four main stages:
Each stage has a different goal and therefore requires a different grit, abrasive and product type. Moving through the stages in order reduces the total processing time and produces a more consistent finish.
The exact number of stages can change depending on the starting condition of the pipe and the required final surface, but the general principle is the same: always progress from coarse to fine.
The first stage is the most aggressive. Its purpose is to remove the weld bead, oxide layer, deep scratches and other surface defects left by pipe manufacturing.
The goal is not to create a fine finish. The goal is to remove material quickly and bring the surface to a uniform base level. At this point, some visible grinding marks are normal and acceptable.
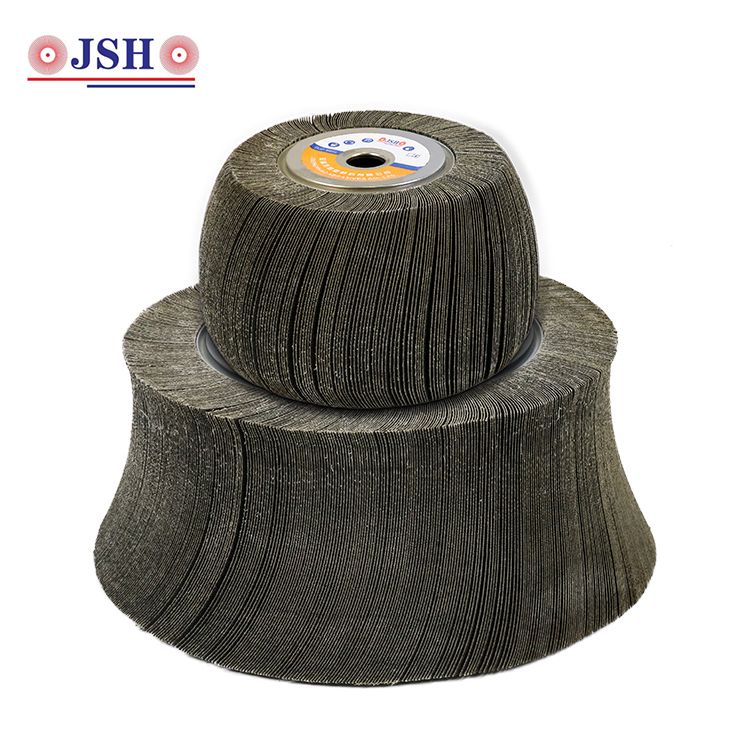
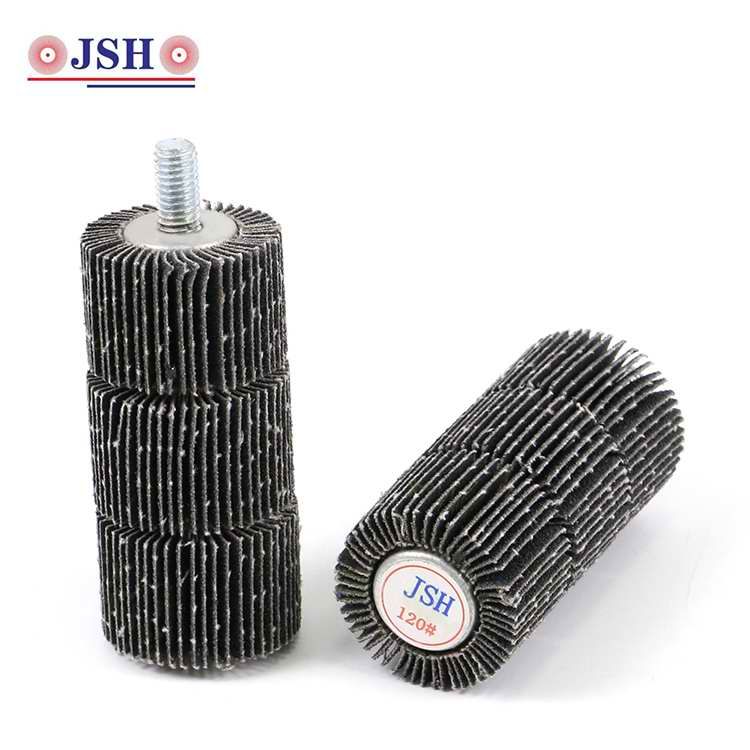
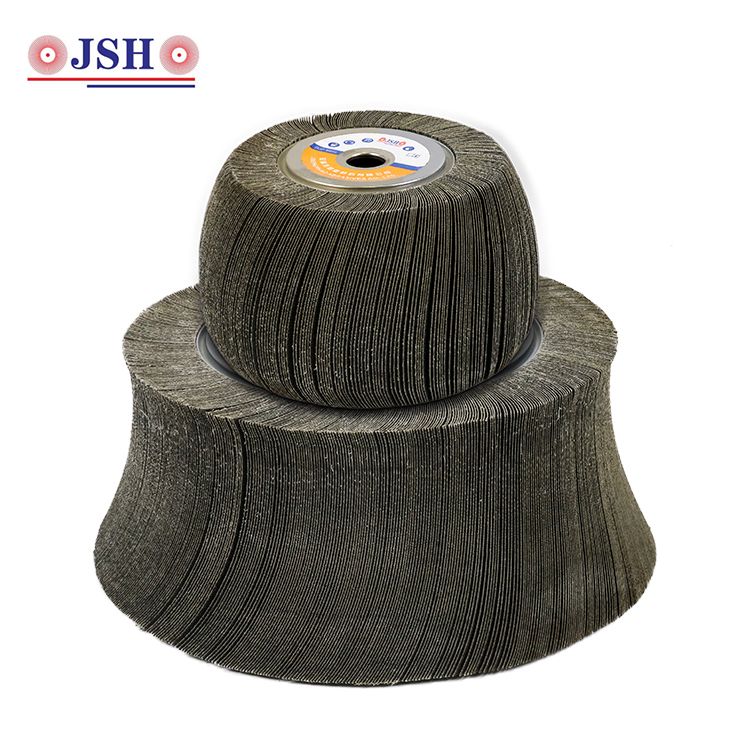
For stainless steel welded pipe, this stage usually happens on the tube mill or a dedicated grinding machine. A tube mill flap wheel is recommended for continuous weld seam grinding. For pipes that are polished off-line, a stainless steel pipe flap wheel can be used.
Use a low grit, typically 36 to 60 grit, for fast stock removal. Control the pressure and speed carefully because this is the stage where burning is most likely to happen. The wheel should cut the weld seam rather than rub against it, because rubbing generates more heat and less cutting action.
After the coarse stage, the pipe surface has obvious grinding lines. The second stage removes these lines and creates a more uniform outer diameter.
The goal is to blend the coarse marks, level the surface and prepare it for fine polishing. The surface should look more even, with no deep isolated grooves.
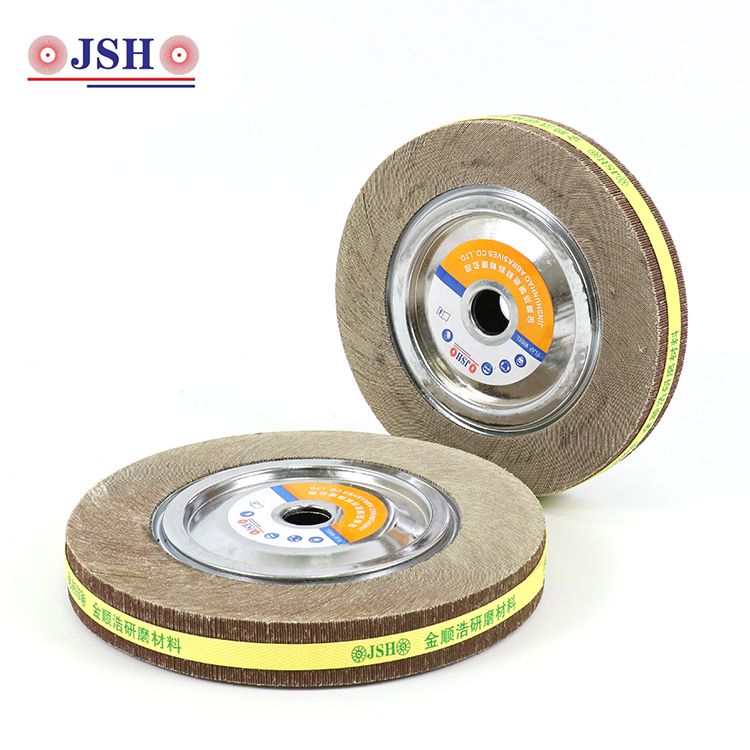
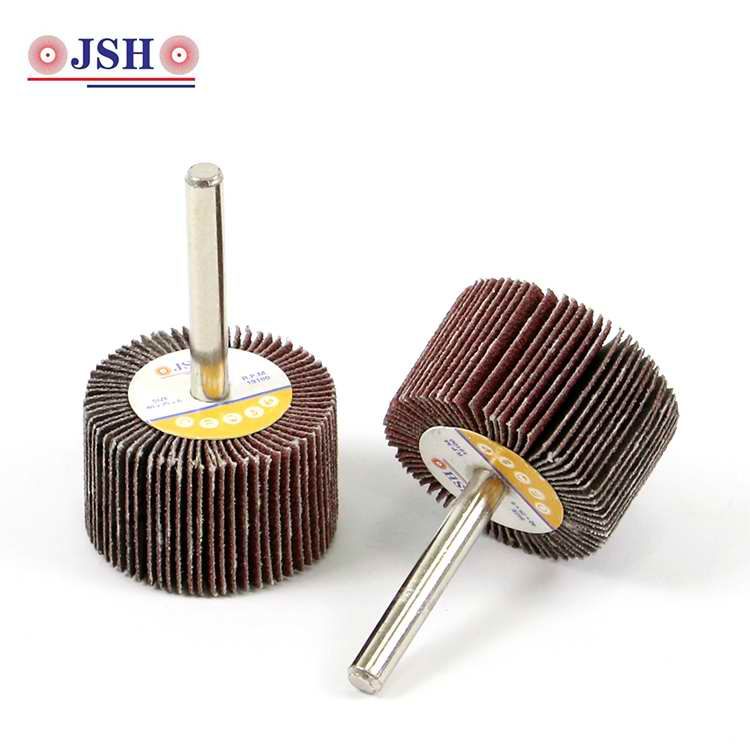
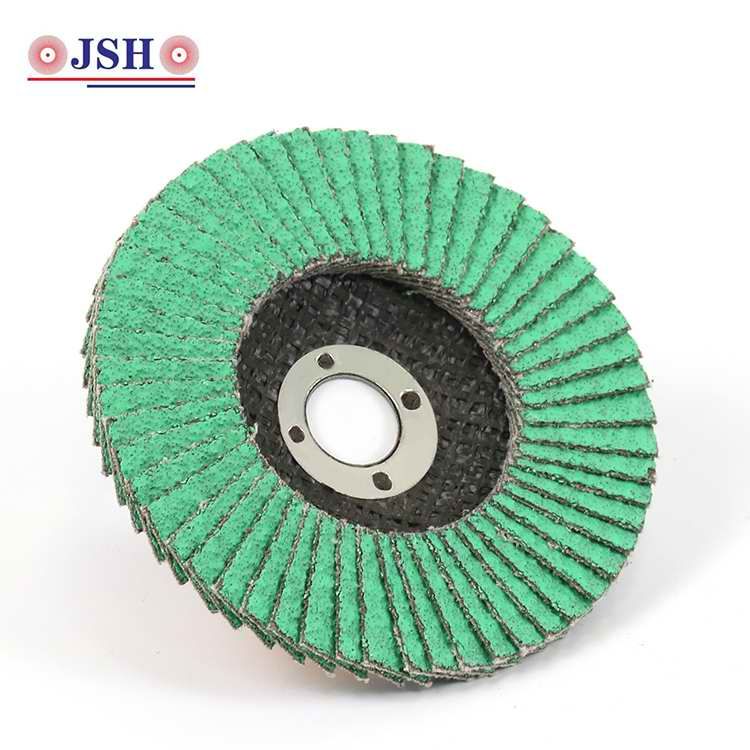
A general stainless steel polishing flap wheel works well in this stage. It removes the marks left by the coarse wheel while keeping a stable contact with the pipe.
Use a medium grit, generally 80 to 120 grit. This stage should not be rushed. If the coarse stage left very deep lines, it may be necessary to use an intermediate grit before moving to the finer stage. The idea is to reduce the scratch depth gradually instead of trying to remove everything with one fine wheel.
Outer wall polishing is only part of the job. Many stainless steel pipes also require a clean, smooth inner surface, especially in industries such as food, medical, chemical and heat exchange.
The goal is to remove inner wall oxidation, weld flash and roughness, and to reach the required internal cleanliness or surface grade.
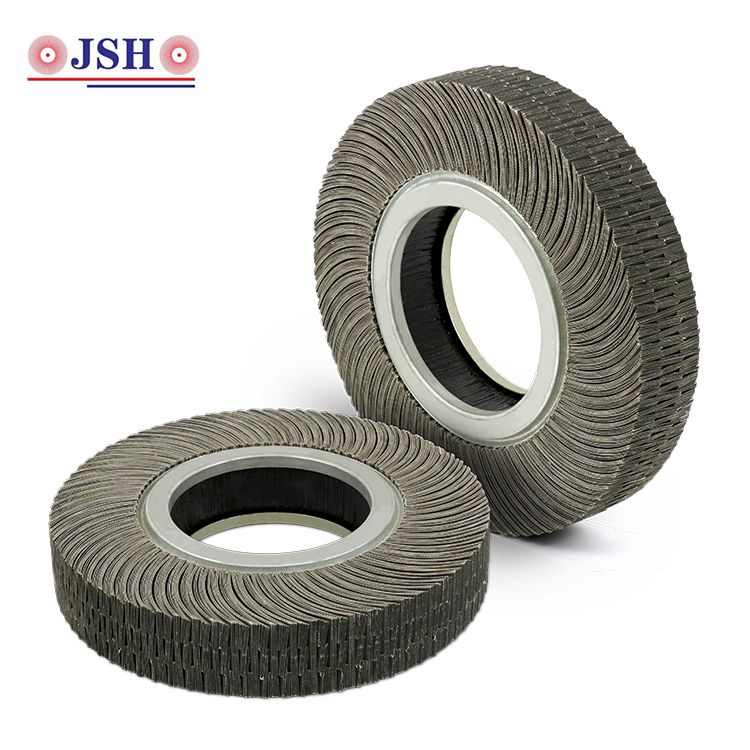
Inner wall polishing requires an inner polishing machine flap wheel. This type of wheel is mounted on an inner polishing machine and works inside the bore of the pipe.
The wheel diameter must match the inner diameter of the pipe. A poor match causes vibration, uneven polishing and possible jamming. Chip removal and cooling are also more difficult inside a pipe, so the feed and speed need to be adjusted to prevent heat build-up. For heat exchangers and condensers, a flap wheel for heat exchanger tube may be the more suitable choice.
The final stage produces the required appearance. For many stainless steel products, this is a mirror finish, but some applications require a satin or brushed finish instead.
The goal is to achieve a bright, uniform surface with the required roughness and visual consistency.
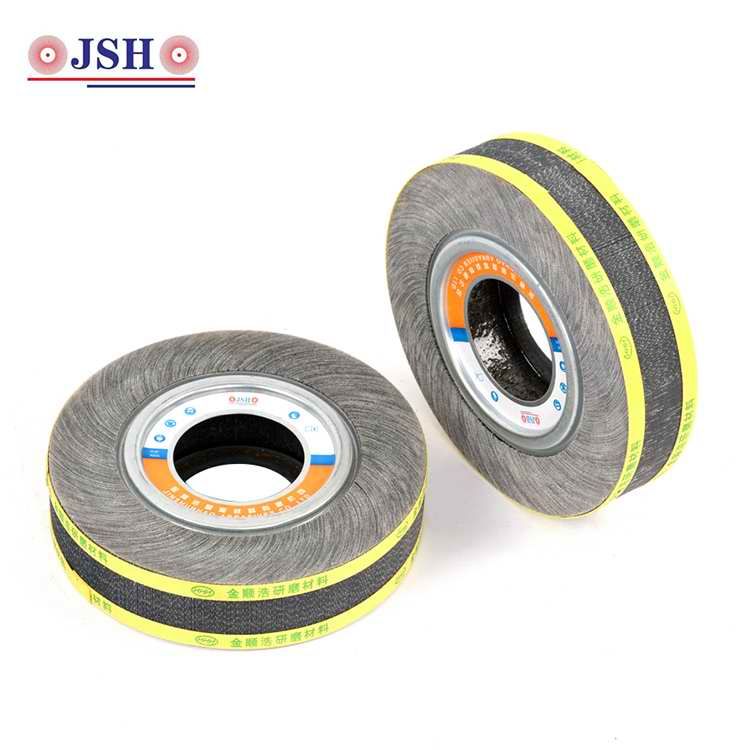
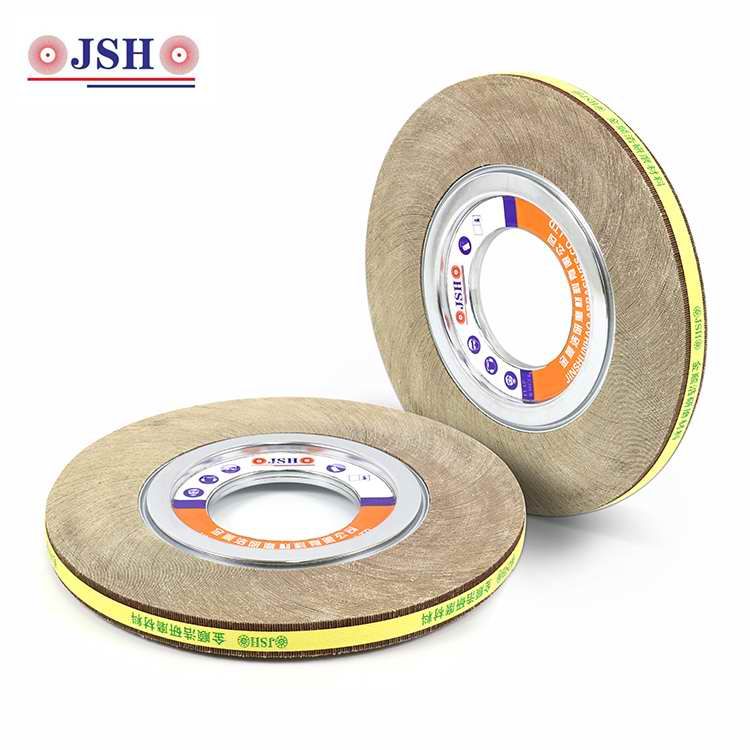
For a mirror finish, the final stage should use a mirror polish stainless steel flap wheel. This wheel is used with a fine grit and produces the high-gloss surface that many decorative and hygienic stainless steel products require.
Mirror polishing is very sensitive to temperature. Too much pressure or speed can re-burn the surface and undo the previous work. The grit should increase step by step, and each previous stage must be completed properly. A mirror finish cannot hide a poorly prepared surface.
The table below is a general reference. Actual values depend on the pipe material, diameter, wall thickness and equipment.
| Stage | Purpose | Typical Grit Range | Recommended Product |
|---|---|---|---|
| Weld seam removal | Remove weld bead and oxide | 36–60 | Tube mill flap wheel |
| Outer wall blending | Level and blend coarse marks | 80–120 | Stainless steel polishing flap wheel |
| Inner wall finishing | Clean and smooth the bore | 80–240 | Inner polishing machine flap wheel |
| Mirror finishing | High-gloss final surface | 320 and finer | Mirror polish SS flap wheel |
For standard outer wall work, both the stainless steel pipe flap wheel and the stainless steel tube flap wheel can be selected according to the machine and pipe size.
The required final grit should be decided by the target surface roughness, usually expressed as Ra value, and by the visual requirement.
A rough industrial pipe that only needs a clean, uniform surface can finish at 120 or 180 grit. A decorative pipe that needs a visible bright finish should progress to 240 or 320 grit. A true mirror finish for food, medical or architectural applications usually requires finer grits and careful temperature control.
The important rule is to reduce the grit in reasonable steps. Jumping from 60 grit directly to 240 grit takes longer and produces a worse result than moving through 120 grit first.
A successful stainless steel pipe polishing process depends on dividing the work into stages. Start with a coarse wheel to remove the weld seam and defects, use a medium wheel to blend and level the surface, handle the inner wall with a dedicated wheel, and finish with a fine or mirror wheel.
By matching each stage to the correct flap wheel, a workshop can reduce rework, improve surface consistency and extend tool life. When the process is well planned, the final mirror finish is simply the result of doing every earlier stage correctly.